
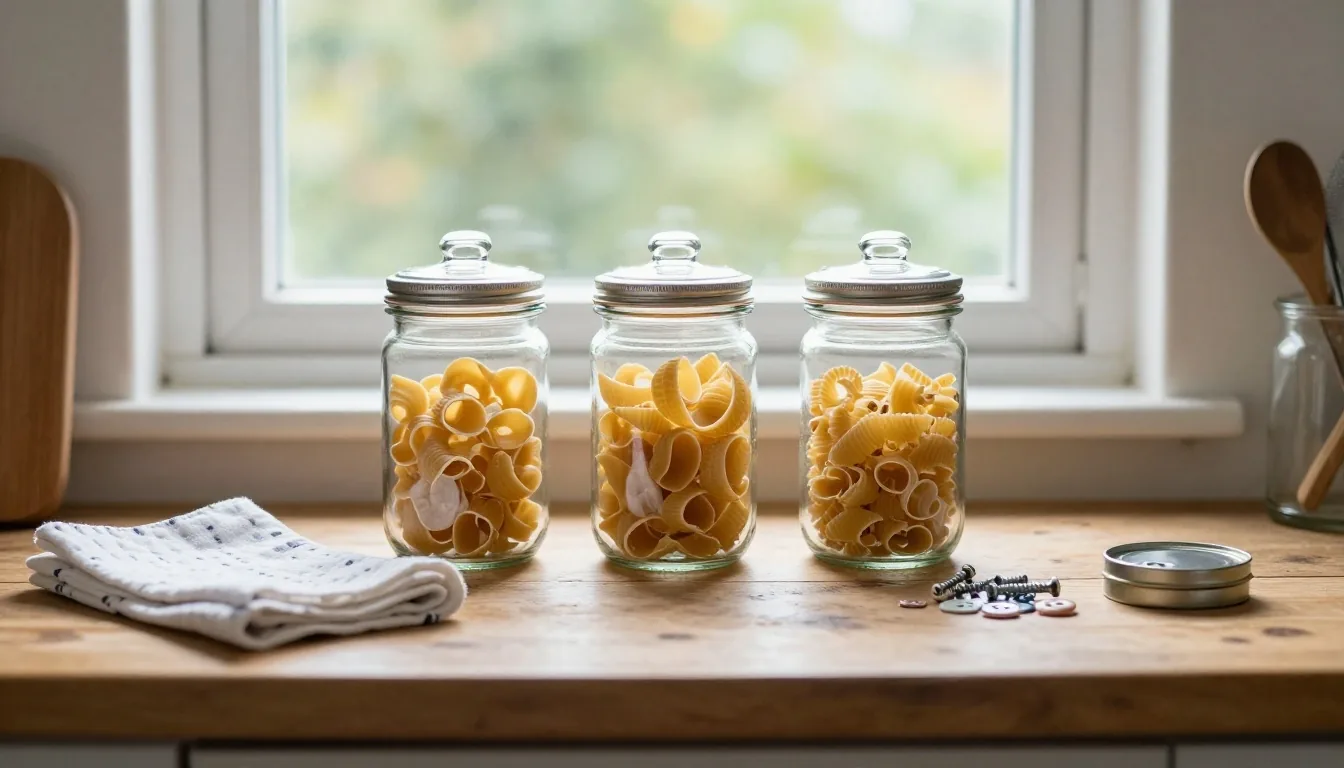
Clean glass jars and salvaged odds and ends set out on a kitchen worktop ready to be reused

Upcycling, not the bin

Upcycling projects for things you would bin

Upcycling keeps an item in use by giving it a new job, without breaking the material down first. That last part is what separates it from recycling, and it is usually the cheaper, quicker thing to try at home. Practical projects for glass jars, old clothes and everyday items, plus a plain explanation of the upcycling versus recycling difference.

Upcycling versus recycling, plainly

Recycling is a manufacturing process. It needs collection, transport, sorting and remaking, and in many cases the material comes back lower in quality than it went in. Upcycling skips all of that. You keep the object in its current form and change how it is used, so the glass stays glass and the cotton stays cotton.

Both have a place, and neither one is a failure. The habit worth building is asking about upcycling first, because it is the step you can take at the kitchen table this evening with no collection day, no bin lorry and no sorting plant involved.

Upcycling

  • You keep the item whole and give it a different job
  • Happens at home, usually with tools you already own
  • No collection, no transport, no reprocessing
  • Easy to undo if a project does not work out

Recycling

  • Material is broken down and remade into something new
  • Depends on your council's collection and sorting facilities
  • Quality often drops with each round of reprocessing
  • Right answer for items you cannot keep or repair

Glass jars: the easiest place to start

Jars are the most upcycled item in most homes, and for good reason. Soak the label off in warm water, remove the lid, and you have a storage container that seals. Knowing how to upcycle glass jars properly mostly comes down to one thing: getting the smell of the previous contents out before the new contents go in.

Getting a used jar clean

  1. 1Fill a bowl with warm water and a drop of washing-up liquid, then leave the jar to soak until the glue softens and the label lifts away.
  2. 2Scrub off any remaining adhesive with a cloth and a little bicarbonate of soda. A spoon of oil on a sticky patch also works.
  3. 3Deal with a lid that smells of its previous contents: leave it in direct sun for a day, or fill it with baking soda and water overnight.
  4. 4Dry the jar fully upside down before it holds anything dry. Any trapped moisture will fog pasta, rice or spices.

What a jar is good for

  • Dry goods from bulk bins: pasta, lentils, oats, rice
  • Spices and seeds, kept dark in a cupboard
  • Small hardware: screws, wall plugs, spare buttons
  • Reusable produce bags rolled up and kept by the door

Matching sizes stack better. Keep one lid per jar, and swap the metal lids for plastic ones if you are storing anything acidic for long.

Repurposing old clothes

Clothes have several useful lives before they become rags. The trick is sorting honestly before you cut anything, because a t-shirt that still fits someone should never become a cleaning cloth. Repurposing old clothes works best when you start from the least wearable end of the pile and work backwards.

Sort into three piles

Still wearable
Donate or swap it. Anyone who can wear it gets more use from it than a rag does.
Worth repairing
A missing button, a split seam or a dropped hem is an evening's work. Fix these before anything else.
Fabric only
Stained, thin or stretched beyond mending. Cut it up and it becomes cloth, patches or padding.
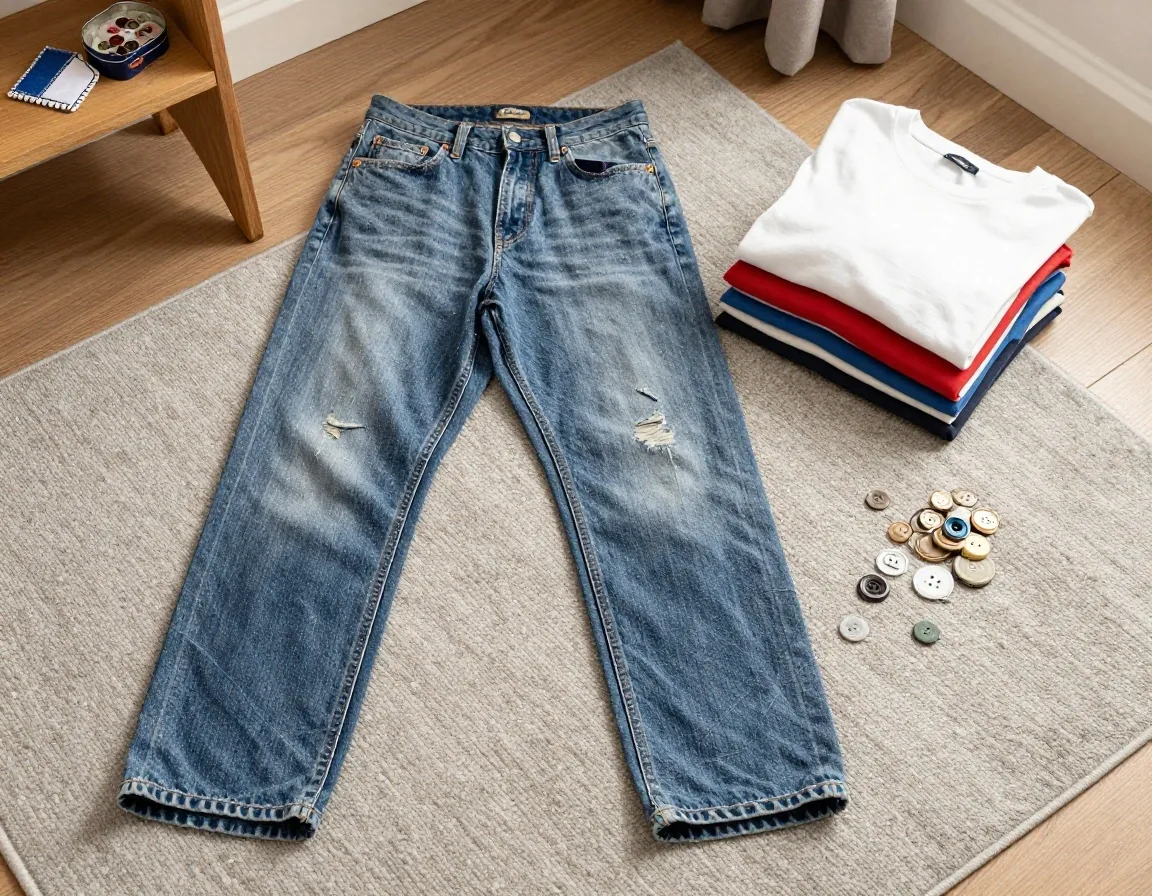
Worn t-shirts and old denim folded on a table with scissors, thread and a tin of spare buttons

Denim is the most forgiving fabric to practise on: it holds a stitch, it takes a patch, and a worn pair is still sturdy enough to carry weight.

Simple projects for a first attempt

These three are the ones worth trying before you buy anything. Each uses items already in the house, and none of them needs a sewing machine.

Cloth cleaning set from old t-shirts

Cut worn t-shirts into squares roughly the size of your hand. No sewing required, and the edges can simply be cut straight because knit fabric does not fray the way woven cloth does. Keep the ribbed hems as a slightly rougher cloth for scrubbing.

No sewing. Works with any cotton t-shirt, even one with a hole in it.
Spice jar storage from cleaned jam jars

Once the jar is dry and odour-free, write the spice name directly on the glass with a washable marker and keep a fresh one handy for relabelling. Writing on the jar means no sticky label to soak off later, which is what usually stops people reusing their jars a second time.

Use a marker that wipes off with a damp cloth so you can rename a jar later.

A produce bag from an old pillowcase

Sew along three sides and thread a drawstring through the open fourth side. Cotton pillowcase fabric is light enough that shop scales barely notice it, and it weighs less than the plastic you are avoiding. Wash the bag with your normal laundry.

Straight seams only. A machine helps but a simple hand stitch holds fine.

Upcycled home decor DIY, without a big spend

Furniture is where upcycling saves the most money, but it is also where beginners get discouraged. Start small.

Start with cosmetics

Repaint or rehandle a piece before attempting anything structural. Swapping drawer handles takes an afternoon and changes how a whole chest reads, and it is completely reversible if you dislike the result.

Then small repairs

A wobbly chair leg, a loose bracket or a drawer that sticks is usually a screwdriver and ten minutes. Fixing what you have keeps usable furniture out of the skip and costs nothing.

Wait on upholstery

Re-covering a chair or sofa needs staples, foam and patience. Leave it until you have a few easier projects behind you, or pay someone and keep the frame out of landfill.

Prep decides the finish

Sanding and a wiped-down surface matter more than the paint you choose. Damp in a Bristol flat makes drying slow, so leave more time than the tin suggests and work in a ventilated room.

Tools and materials worth keeping

A basic set covers most projects. You do not need a workshop; you need one drawer you can find things in. Keeping a box for salvaged parts saves a trip every time you start something.

Sustainable home essentials are genuinely simple here: a handful of tools you already own, plus a place to put the small things you would otherwise throw away on impulse.

  • Scissors that cut fabric and do not get borrowed for paper
  • A needle, thread and a few spare buttons
  • Two or three screwdrivers, including a small one for handles
  • Sandpaper in two grades, coarse and fine
  • A paintbrush small enough for edges and corners
  • A tin or box for salvaged handles, screws and buttons

One line worth repeating: salvage the parts before the item leaves the house. The handles off a broken chest, the button tin from a shirt that has gone, the screws out of flat-pack that is being replaced. That box is what makes the next project start tonight instead of after a shop trip.

When upcycling is the wrong choice

Not everything should be kept. Items that are mouldy, unsafe or already too worn are better recycled or disposed of properly, and some materials simply cannot be made safe at home. Soft furnishing with damp in it, anything that has held chemicals, and electrical goods with damaged wiring all belong out of the project pile.

There is a second test that has nothing to do with safety. If a project will sit unfinished in a cupboard for a year, it was not a project. Be willing to pass items on instead, to a charity shop, a neighbour or a repair cafe, rather than letting them become clutter with good intentions attached.

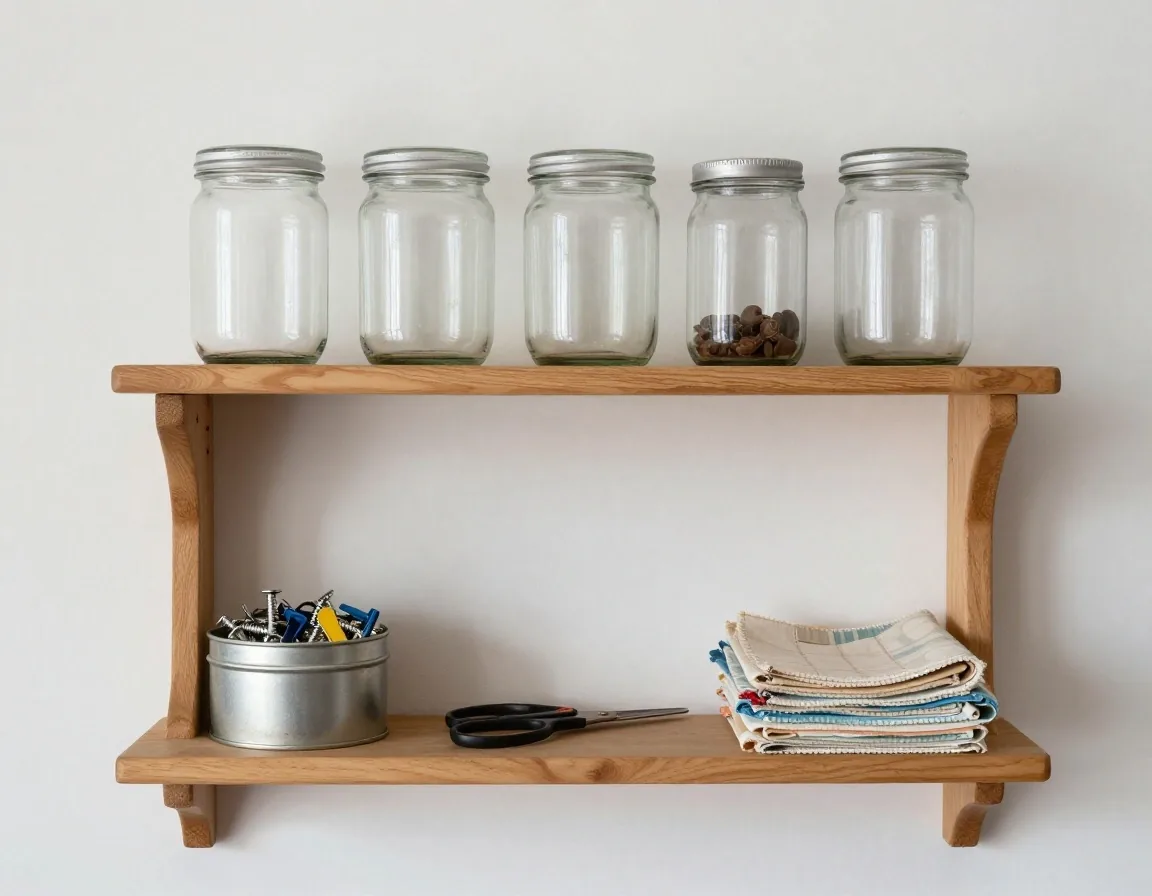
A shelf of neatly sorted reclaimed fabric, jars, screws and handles kept for future projects

Keep salvaged parts tidy and visible. A box you cannot see into is a box you never open.

Common questions

Short answers to the things people ask before starting their first project.

Do I need to buy anything to start?

No. A jar, a cloth and a pair of scissors will get you through the first three projects on this page. Buy tools only when a specific project needs one, and borrow the rest if you can.

Can every jar and container be reused?

Glass jars are the most forgiving. Plastic containers are fine for dry storage if they are clean and unscratched, but heavily scratched plastic holds onto smells and is harder to get properly clean, so it is worth retiring those.

How do I label jars without a printer?

Write directly on the glass with a washable marker, or use a strip of masking tape and a pen. Both wipe off cleanly, which means the same jar can change job next month.

Is a hand stitch strong enough?

For a produce bag or a patch, yes, provided you use a backstitch rather than a running stitch on anything that will carry weight. Practise on an offcut first; the seam matters more than the neatness.

Where do these projects fit into reducing waste overall?

Upcycling sits alongside the other habits in a low waste home: buying less in the first place, swapping to refillable or plastic free alternatives where it works, keeping food out of the bin, and passing on what you no longer need.

Where these projects lead

The low waste home guide explains where upcycled items fit into reducing household waste overall: what to fix, what to refill, what to pass on, and how those habits stack up week to week. If you would rather start there and come back, that works too. Nothing on this site requires doing things in order.

If you are new to any of this, the beginner starter guide sets out the first few swaps in a sensible order, including how to buy in bulk without overbuying and how reusable produce bags and beeswax wraps fit into a normal shop.

Have a project that worked better than the ones here? Tell us about it. We add reader suggestions to this page when they are genuinely useful to someone starting out.